Button Snowflake
Button Crafts
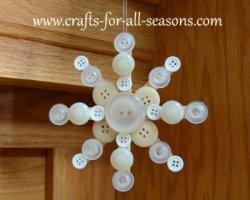
This button snowflake craft can be used as a holiday ornament, or as a winter decoration.
After the holidays, I decorate my mantle in white with snowmen and snowflakes.
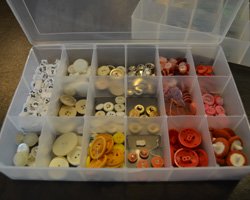
I got the idea to make this snowflake after organizing my craft room. I realized I have so many buttons! I got many of them from my mother, who was an avid sewer. You can also buy buttons in big multi-pack bags at the craft store. Buttons are great to have on hand, because they can used in many different craft projects. I organize my buttons by color in small craft organizers (see the photo below). I like to scrapbook, so it is very easy to add buttons to a layout when they are all organized by color.
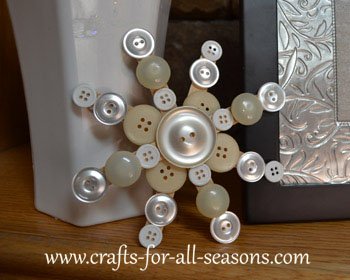
This snowflake made out of buttons can be hung in a window, from a mantle, from one of the snow covered branches I also have on this site, or simply propped up against a photo frame or other things on your shelf, as I did here.
Materials Needed for the Button Snowflake:
- 3 or 4 wooden craft sticks (popsicle sticks)
- various white, silver, gold, or cream colored buttons, in various sizes
- craft glue of your choice
Instructions:
1. Begin the button snowflake by gluing the three or four wooden craft sticks together to form a star shape. Why three or four? Because "real" snowflakes have six sides, not eight like the one shown here. Oops! I still like the way this one turned out, but I'll leave that part up to you! If you would like to see additional photos to help you with this step, it is all explained in my other craft, wooden snowflake.
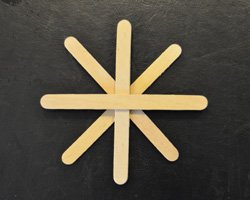
2. Next, you will want to go through your buttons to figure out which
ones you want to use and see if you have enough. Snowflakes
are identical on the points, so it would be best to have six (or eight)
of each type of button and to repeat the pattern you choose on each
stem. I had many different sizes, so I chose to make the four
stems opposite each other symmetrical, and the other four stems
different. Lay out the buttons along the wooden stem to be
sure they fit and look nice. Once you have your pattern
figured out, just lay them out in order on the table.
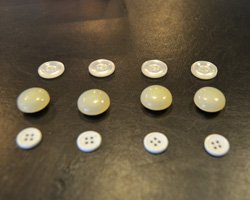
3. Begin gluing the buttons on, one by one. I used Elmers Glue-All and it worked quite well. If you want something stronger, you can try a hot glue gun but be careful! The buttons are small and you don't want to get burned. If you plan on hanging your button snowflake, allow one of the end buttons to have its holes slightly overhang the tip of the wooden stick, so you will have a hole to thread the string through.
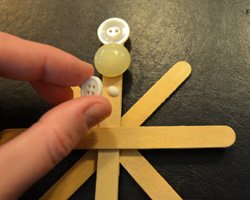
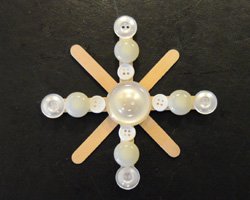
4. Once you are done, allow it to dry well. To hang it, thread some clear fishing line or thin thread through two of the button holes.
Would you consider a small donation?
You will receive my craft ebook as a thank you!
Every little bit helps! If you are enjoying this site, would you consider making a small donation? I use the extra money to help with the cost of craft supplies! With any $5.00 donation or more, you will receive my 650 page ebook full of 178 craft tutorials from this site. Thank you for your consideration!
Click here to learn more about the book, and to make a donation.


Facebook Comments
Have Your Say About What You Just Read! Leave Your Comments or Questions Below.