Personalized Direction Sign Post
This direction sign post project was from the creative mind of my husband, Jon. He came up with the idea, and made this project from start to finish with my girls' help.
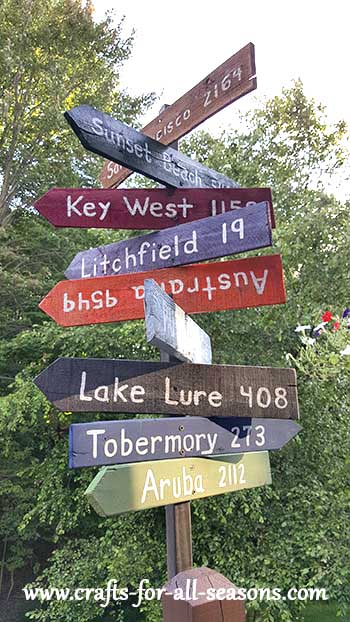
This whimsical yard decoration looks great in the yard and you can personalize it with your favorite places. We chose some locations that we have family from, and some of our favorite vacation spots. We also have added to it over the years, and the photo above is the most recent with new places added.
This project is also a conversation starter - we found that some guests will argue about the correct direction headings! But with the help of Google maps you can point all the wood planks in the correct direction and determine the correct mileage.
Materials Needed:
- wood planks, cut to 3.5 inches wide by 18 inches long
- 1.25 inch square post- the height you make it is up to you!
- saw
- wood screws
- electric screwdriver
- spray paint
- white acrylic paint and paint brush
- Google maps and a compass
Direction Sign Post Instructions
1. Before beginning, chose how many locations you want to display. It is best to chose locations that lie in several different directions of your house.
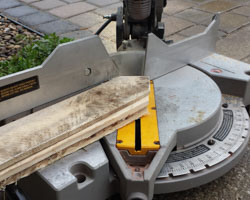
Cut one wood plank per location. My husband cut each wood plank to a 18 inch length. Each plank was 3.5 inches wide. He then cut off diagonal edges to create an arrow.
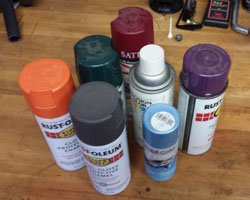
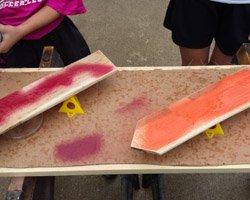
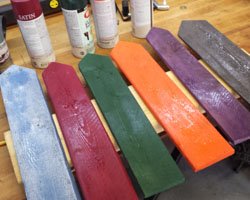
2. My kids helped with the spray painting! He just gathered up all the various colors he had left and the kids sprayed away. Allow them to dry, then flip them over and paint the other side too.
3. While those are drying, get out a pad and paper and determine the mileage to each location. Go to https://www.google.com/maps
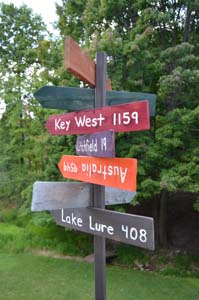
5. When they are dry, it is time to start assembling the planks, pointing in the correct direction, on the square post. First, drive your post into the ground. We choose to put our post on the top of our deck stairs leading down to the first level. Then, using Google maps, locate your house and draw a straight line to each location, noting the direction heading. Then, take a compass out to your post and point the sign in the correct direction. Drive it into the post using an electric screwdriver and wood screws.
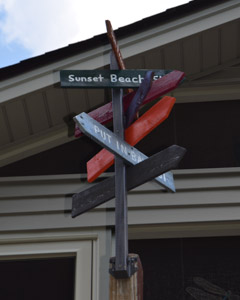
6. That's all there is to it, now you have a personalized direction sign post and a great conversation starter!
Would you consider a small donation?
You will receive my craft ebook as a thank you!
Every little bit helps! If you are enjoying this site, would you consider making a small donation? I use the extra money to help with the cost of craft supplies! With any $5.00 donation or more, you will receive my 650 page ebook full of 178 craft tutorials from this site. Thank you for your consideration!
Click here to learn more about the book, and to make a donation.
Home › Crafts for Adults › Direction Sign Post


Facebook Comments
Have Your Say About What You Just Read! Leave Your Comments or Questions Below.