Photo Transfer to Wood: A DIY Tutorial
This photo transfer to wood tutorial will explain how to create your own personalized rustic wall art. There are photo companies that will do this for you, but $85.50 is a steep price for an 8x10, so I sought out to try doing this on my own. The price for this piece, under $4 - definitely more in my budget. But, I learned a few tricks along the way, which I will share with you.
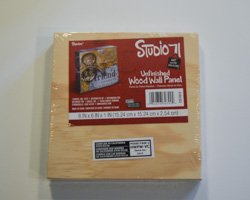
I bought a small wooden plaque that was made for this purpose, to craft on. It was $2.97 at our local craft store. But you could easily cut pieces of your own wood to photo transfer to wood. It just needs to have a very smooth surface and you will have to add photo hanging hardware on the back.
You will need a good quality laser printer. If you do not have access to one, you can take your photograph up to Kinko's or another copy center and they can make an enlargement for you.
My original intention was to create a wall gallery in our basement, consisting of some large prints of my hometown, Cleveland. So this small photo transfer to wood project was a test. I started small (this wooden plaque is 6"x6"). After working with this small plaque, I learned that to do a larger piece would be difficult. It takes some time to "scrape" off the photo, and it is easy to scrape off too much, revealing the wood underneath. Therefore, I recommend doing pieces no larger than an 8x10 (which will fit on a standard piece of printer paper) for this photo transfer to wood technique.
Materials Needed:
- Wooden Plaque with smooth surface (shown here is 6"x6")
- Photograph
- Laser printer and standard printing paper
- Liquitex Matte Gel in Medium - sold by artists' paints in the craft store
- Spongebrush
- Straight edge, such as a ruler or a bone folder
- Washcloth or rag
- Sandpaper
Instructions to Photo Transfer to Wood:
1. To begin, you will need to resize and reverse your photo to fit the size of your wooden plaque. Since the photo will be placed face down on the wood, the photo needs to be flipped horizontally so that it appears the right way when displayed. You can use a simple photo editor to do this. If you don't have one, try PicMonkey, it's free and there is nothing to download.
2. Next, print out your picture, flipped horizontally and at the correct size, on standard printer paper using a laser printer and cut it out carefully.
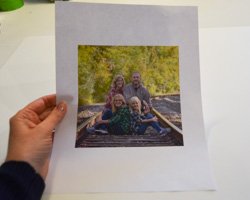
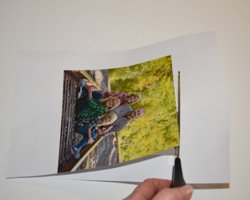
2. The type of wooden plaque I used is shown below. It was 6" x 6". Place your photo on the wood to make sure it all fits OK.
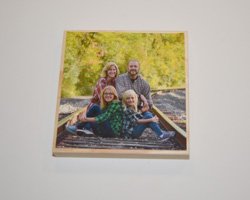
3. Next you are going to paint a nice thick layer to Liquitex Gel Medium (I used medium in matte finish) all over the front of the wooden plaque. You can use a sponge brush for this. Try to make it nice and even.
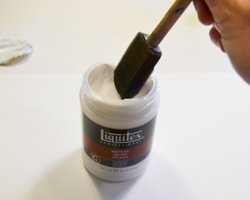
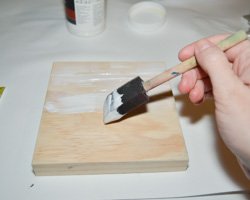
4. Flip that photo over now and place it on the wooden plaque, centering it nicely. Using a straight edge (a bone folder would work great here, but I used a ruler) "squeegee" the paper nice and flat against the wood. Start at one edge of the photo and work your way to the other side. The idea here is to make the paper flush with the wood in all areas and eliminate any bubbles or wrinkles. Lots of gel medium will squish out the other side. Use some tissues to mop up the extra and discard.
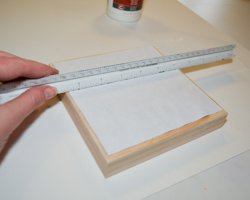
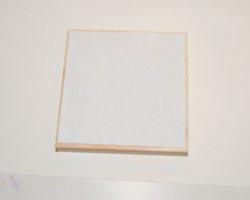
5. This has to dry now for at least 8 hours.
6. The next day, lay out some newspapers and place the wooden plaque on top of them (things will get a bit messy and this helps with clean up). Dampen a wash cloth or rag and place on top of the paper.
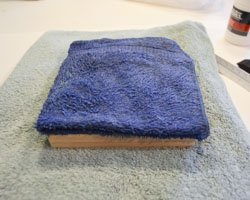
7. Next, you are going to begin removing the back of the white paper layer, keeping the ink photo that lies underneath intact. This has to be done very carefully, so take your time. Using the dampened washcloth, gently start rubbing at the paper, beginning at one corner. The paper will start to peel off in small rolls.
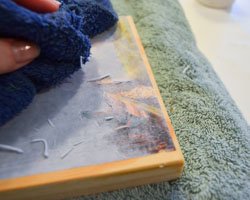
8. Keep working, slowly over the entire picture. You can use the pads of your fingers to help "pick" off the paper too. Sometimes you will think you are all done, because when the photo surface is wet the photo shows up great. But when it dries, you will see some paper is still remaining so there is still some work to do. Don't expect the process to go perfect. Part of the rustic charm of this project is that the wood will show through the photo here and there.
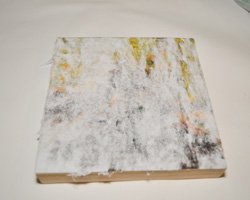
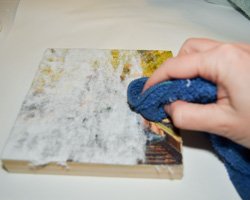
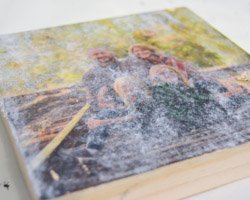
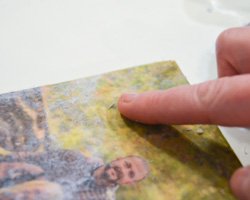
9. You will know you are done when the photo shows nicely when it is completely dry. I sanded the edges of my finished piece to make the photo have a raw, natural edge.
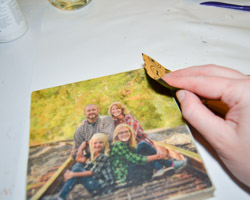
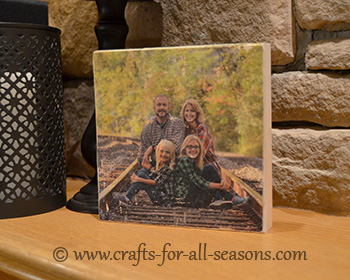
10. You can stain your finished piece, or give it a protective coat with additional gel medium or acrylic sealer.
Would you consider a small donation?
You will receive my craft ebook as a thank you!
Every little bit helps! If you are enjoying this site, would you consider making a small donation? I use the extra money to help with the cost of craft supplies! With any $5.00 donation or more, you will receive my 650 page ebook full of 178 craft tutorials from this site. Thank you for your consideration!
Click here to learn more about the book, and to make a donation.
Home › Adult Crafts › Photo Transfer to Wood


Facebook Comments
Have Your Say About What You Just Read! Leave Your Comments or Questions Below.