Turkey Craft for Kids
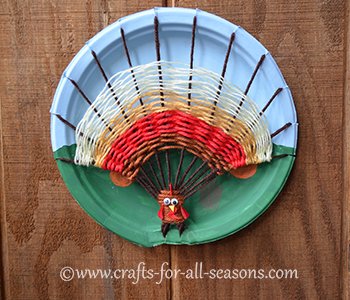
This unique turkey craft for kids is made by weaving yarn on a paper plate to create a beautiful wall hanging for Thanksgiving. Weaving can be done by young children, and is very beneficial because it helps with fine motor skills. This craft also teaches a bit of patience, because it does take some time to make a full, weaved tail. This project works well for school art classes, since students can work on the weaving a little bit each day.
Students can decorate the paper plate in any way they choose, and choose the color and texture of yarn they use so each turkey will be unique! There are so many fun textures of yarn to choose from, or you can try weaving ribbon too. If you want the project to go quicker, choose a big, thick bulky yarn. This turkey craft for kids will look great displayed using a plate holder or hanging on the door.
Materials Needed:
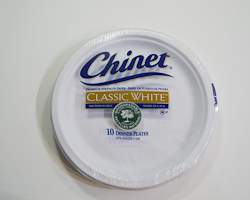
- Very sturdy paper plate, such as Chinet
- Pencil
- Ruler
- Scissors
- Paints, markers, or crayons (optional)
- Paintbrush (optional)
- Yarn or ribbon, in colors of choice
- Two googly eyes
- Red ric-rac ribbon trim (optional)
- Two small feathers (optional)
- Yellow Foamie sheet
- Glue
Instructions for the Turkey Craft for Kids
1. This turkey craft for kids must be created using a sturdy paper plate. It cannot bend easily. The Chinet brand of plates works great!
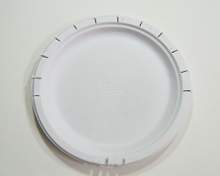
2. The first step is to make slits along the edge of the plate, to secure the yarn base. Using the ruler, make marks around half of the plate, in equal distances from each other, to form the tail. The tail here had 12 marks, and were 1.5 inches apart. At the bottom of the plate where the turkey's feet will be, mark two lines, about one inch apart.
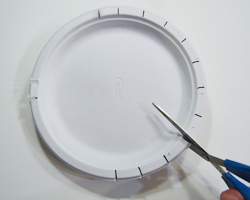
3. Using your scissors, make slits about 1/2 inch deep, into the plate on all the marks.
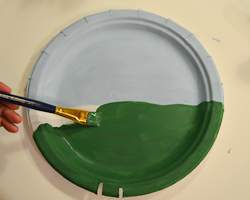
4. Paint or color the base of your plate if you choose. A white plate looks great too! On my turkey I decided to paint a little fall field. Allow the plate to dry.
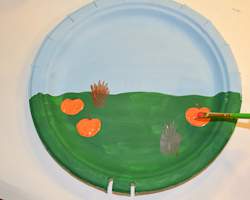
5. Choose a color of yarn for the base. Brown or black work best. Wrap the yarn around the plate, starting at the left foot and threading it through the left slit of the tail, as shown. Secure the yarn by tying it in a knot on the back of the plate.
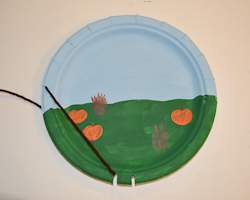
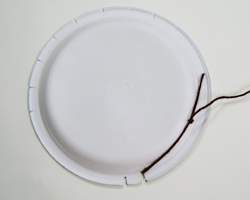
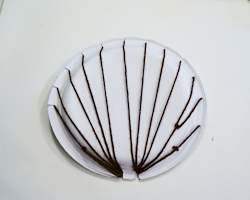
6. To create the rest of the base, you will want to wind the yarn all around the plate, going through each tail slit only once, but continuing to secure the yarn through the bottom leg slits. Use the photos for help.
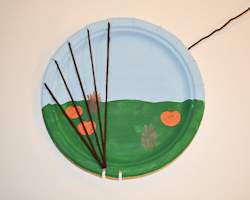
7. When you get to the top of the plate, start winding the yarn through the tail slits but securing the yarn through the right foot slit.
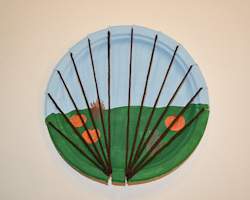
8. When you are done with the base, secure the yarn by tying it off in the back.
9. Turkey craft for kids: Let the weaving begin! You will start at the edge of the plate. Cut off about two arm-lengths of yarn. Secure it to the first yarn string but tying it in a knot and cutting off the excess tail. Then, begin weaving it through the yarn, up and over, up and over.
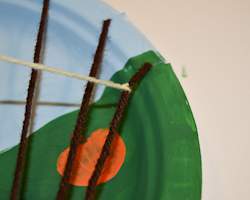
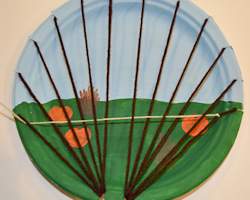
10. When you weaved it through, push the yarn up to the edge of the plate with your fingers. Do this occasionally as you weave to keep everything nice and tight.
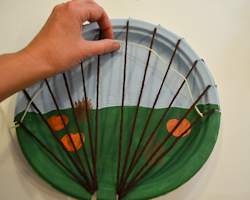
11. When you get near the end of your yarn, secure it by tying it in a knot to the yarn base. Always do this on the edge yarn strings, not in the middle - it makes the tail look much neater.
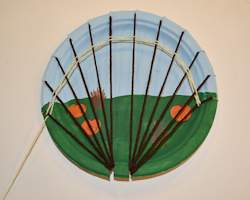
12. Continue weaving, and alternating colors as your choose.
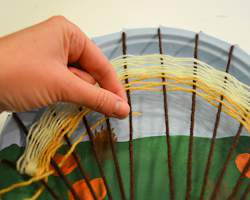
13. When you are finished with the tail, wrap yarn around the base to create a turkey body and knot it to secure. Once knotted, move the knot to the back of the body so you can't see it.
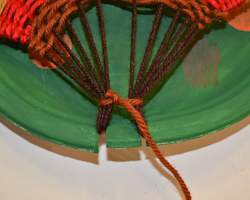
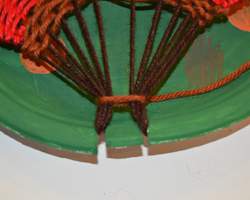
14. Continue to wrap the yarn up and around to form a body. Use the picture for help.
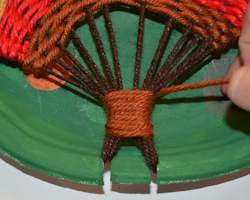
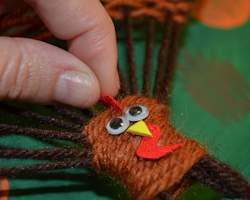
15. You can create a tapered head by not including all the strands each time as you wrap (see photo).
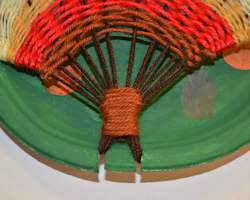
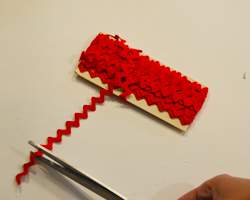
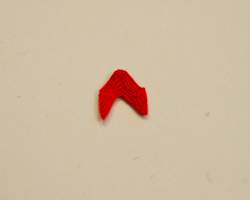
16. To create a turkey face, glue on googly eyes. To create a turkey wattle and comb, I used a small piece of red ric-rac ribbon trim. For the beak, I used a small triangle of Foamie board. I glued two small red craft feathers for the wings, but you could easily use Foamie sheets for wings too.
17. This turkey craft for kids can be displayed on a window, a door, or on the Thanksgiving table this year.
Would you consider a small donation?
You will receive my craft ebook as a thank you!
Every little bit helps! If you are enjoying this site, would you consider making a small donation? I use the extra money to help with the cost of craft supplies! With any $5.00 donation or more, you will receive my 650 page ebook full of 178 craft tutorials from this site. Thank you for your consideration!
Click here to learn more about the book, and to make a donation.
Home › Thanksgiving Crafts › Turkey Craft for Kids
Home › Crafts for School Age Kids › Turkey Craft for Kids
Home › Crafts for Teens › Turkey Craft for Kids


Facebook Comments
Have Your Say About What You Just Read! Leave Your Comments or Questions Below.