Decoupage Leaves on a Mason Jar
If you decoupage leaves after they have been dried, they will keep their color and vibrancy!
So on your next walk collect some beautiful autumn leaves. Bring them in and dry them between sheets of newspapers for about two weeks or more.
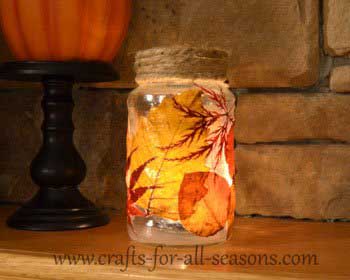
After that, they can be decoupaged on to a recycled glass jar (I used a pasta jar). When you place a votive candle inside, the light shines through the leaves, creating a beautiful effect.
The leaves are not as thin as paper or napkins (which are commonly used decoupage items) but the leaves still work well. If you use large leaves that can be a bit thicker, you must be patient and hold the leaves down until the mod podge adheres.
I found that this project works easier with small leaves as opposed to large ones. This project would be difficult for small children, and is better suited for adults.
Materials Needed to Decoupage Leaves:
- Votive candle in a votive candle holder
- Heat resistant glue
- Jute, thin rope, raffia, or ribbon
- Recycled jar
- Paintbrush
- Decoupage medium, such as Mod Podge
- Heavy books
- Newspaper
- Collection of fall leaves, freshly fallen (do not pick up ones that are already crisp and dried out)
How to Decoupage Leaves
1. Place the leaves between two pieces of newspaper. Do not overlap or stack the leaves on top of one another. Place a heavy book on top of the leaves and allow the leaves to dry and flatten for a minimum of two weeks, or longer.
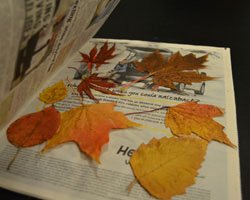
2. Remove any labels from the jar and wash with warm soapy water. Allow the jar to dry well.
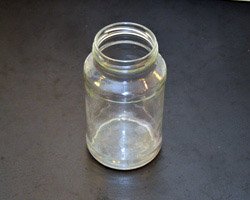
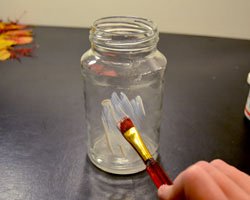
3. Paint decoupage medium in a nice thick layer on one area of the jar.
4. Choose a dried, pressed leaf and apply it to the decoupage. If the leaf is large, you may have a problem with the edges are not adhering. If this happens, hold down the edges until the decoupage medium adheres. This is the part that takes some patience, and there usually is no problem if you use small leaves.
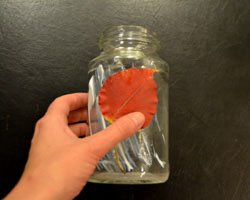
5. Choose another leaf and place it near the first one, perhaps overlapping it slightly. You choose the pattern here. The more the leaves overlap, the less light will show through when the candle inside is lit.
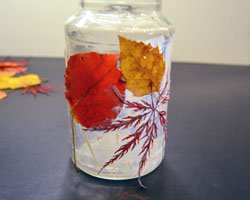
6. Once all the leaves are on, go over the entire jar, and all the leaves, with a coat of decoupage medium and allow to dry. There may be some edges of the leaves that aren't adhering flush to the jar. That's OK! That's what makes this craft look great; these are real leaves!
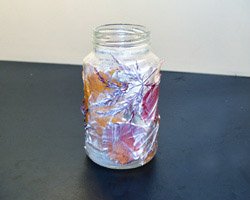
7. Reapply at least three coats of decoupage medium to the entire jar, allowing it to dry in between. Mod Podge protects the jar, so these extra coats are important. I used the gloss version of Mod Podge and I really liked how it made the leaves look glossy.
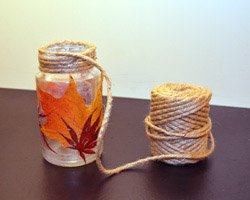
8. Using a strong heat resistant glue, wrap and secure jute, thin rope, raffia, or a ribbon around the mouth of the jar if you want to cover up the threads near the mouth of the jar.
9. Place a votive candle inside. I recommend placing the votive candle or tea light within its own small votive glass holder, and then lower this into the jar. That way, when the candle wax melts, it isn't all inside your decoupage leaf jar and only inside the votive candle cup.
Would you consider a small donation?
You will receive my craft ebook as a thank you!
Every little bit helps! If you are enjoying this site, would you consider making a small donation? I use the extra money to help with the cost of craft supplies! With any $5.00 donation or more, you will receive my 650 page ebook full of 178 craft tutorials from this site. Thank you for your consideration!
Click here to learn more about the book, and to make a donation.
Home › Crafts for Adults › Decoupage Leaves
Home › Candle Crafts › Decoupage Leaves


