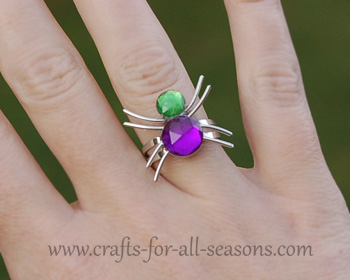
Spider Ring
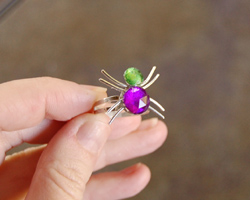
I saw this spider ring in a recent store ad, retailing for $7. They had them available in all different colors, and I thought they were just perfect for Halloween.
I knew I could make the exact same thing for much cheaper, so I set out to do just that. Since they can be made for pennies each, these would be a great item to include in a Fall craft fair. If they are priced at $3 each you would be making a great return! All the of items needed are sold in multi-packs, making it very economical to make more than one. Plus they are just plain cute, yet creepy!
Materials Needed:
- Two flat sided gem stones, one a bit smaller than the other
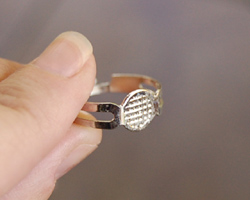
- One adjustable ring band (sold near jewelry findings in the craft store)
- Strong glue (I used E-6000)
- Silver wire, 18 gauge
- Wire cutters
- Jewerly pliers
- Small scrap of thin cardboard (from a cereal box or tissue box)
- Scissors
Spider Ring Instructions
1. Ok, this is so easy! Ready? First cut a very small rectangle out of the thin cardboard. This will be the base that you glue everything on. I find this much easier than trying to assemble the spider on the ring itself. Make the rectangle small enough that it won't show when the two gems are added on.
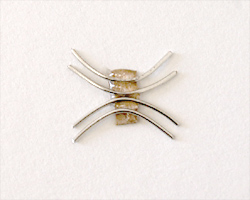
2. Next, cut four one inch pieces of wire using the wire cutters. You may want to make the legs longer than one inch if you are using larger sized gems, just use your judgement. Using the pliers or your fingers, gently bend the wire pieces into a slight curve, as shown. Put a liberal drop of glue on the cardboard rectangle piece, then attach the wire legs on top of the cardboard as shown.
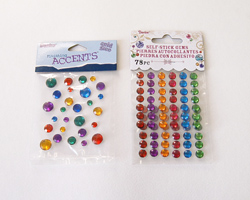
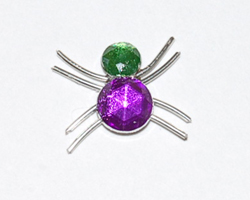
3. Choose two flat sided gems. The size you use is up to you! Here's a photo of the types of gems I used. These packages are less than $2 each, and can make many rings! Choose a bigger gem for the body and a smaller gem for the head. Add some glue to the backs of these and glue them on top of the legs. Allow the spider to dry well.
4. Grasp the wire over one eye pin with the jewelry pliers. With your
other hand, twist the jewelry wire a few times, between each eyepin.
Then, grasp the wire over the next eyepin, and twist the wire again.
This adds a nice twisted look to the wire.
Would you consider a small donation?
You will receive my craft ebook as a thank you!
Every little bit helps! If you are enjoying this site, would you consider making a small donation? I use the extra money to help with the cost of craft supplies! With any $5.00 donation or more, you will receive my 650 page ebook full of 178 craft tutorials from this site. Thank you for your consideration!
Click here to learn more about the book, and to make a donation.
