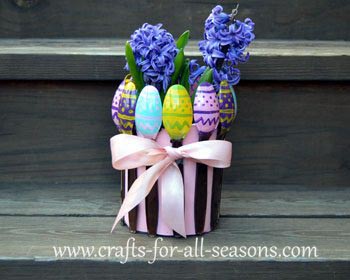
Easter Egg Spoon Planter
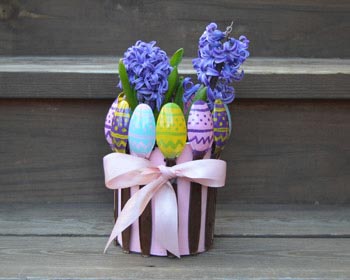
This creative Easter egg spoon planter is made by painting plastic spoons.
I always have extra plastic spoons and knives left after having a party. Everyone grabs the forks. You can never have enough forks. But it seems like no one needs a spoon! So I'm hoping you won't have to go out and buy any, and can just use what you may have left in your drawer (or ask a friend who recently hosted a party)!
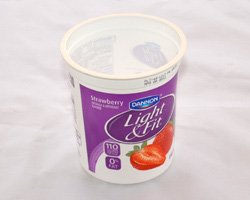
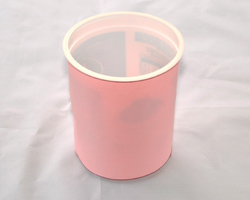
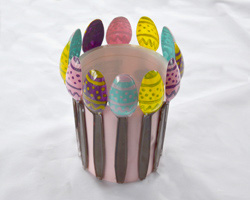
The plastic spoons are painted to resemble Easter eggs. I used a plastic empty yogurt container and covered it with paper, and then glued the spoons around it. I poked holes in the bottom of the container to be a planter, but you can also add a handle to this to make it a unique Easter basket, and then put some candy inside!
Materials Needed for the Easter Egg Spoon Planter:
- Empty yogurt container (or a small coffee can, or similar sized container)
- Colored paper (I used pink)
- Plastic spoons, enough to go around the container (I needed 12)
- Acrylic paints in various pastel colors, and brown
- Paintbrush
- Hot glue gun, or other strong glue
- ribbon
Instructions for the Easter Egg Spoon Planter:
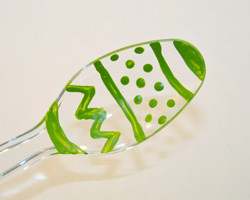
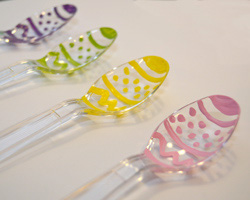
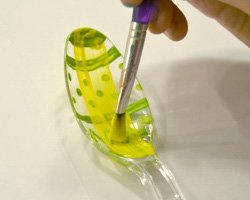
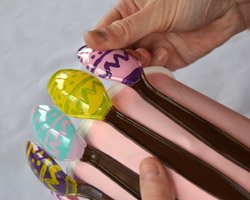
1. I found that the spoons look really nice when you paint them on the inside, as opposed to the side that will be showing. They have a nice glossy and smooth appearance that way. Begin by thinking about your color combinations, and what would look good together. I used the following color combinations: pink with purple designs, yellow with green designs, aqua with pink designs, and purple with yellow designs. Since I needed 12 spoons, I painted three spoons each with the same design. Begin by painting the egg designs first, on the inside of the spoon, as shown. Allow these to dry completely before going on to the next step.
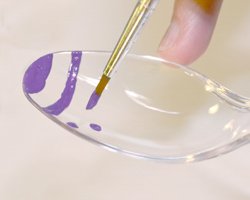
2. Next, again painting on the inside of the spoon, cover the design completely with the alternate color. This will be the "fill" color of the egg. You may need to do a few coats for complete coverage, allowing each coat to dry in between.
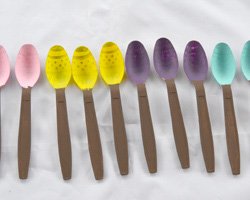
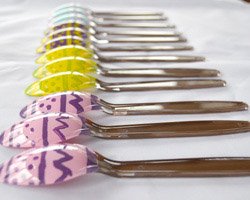
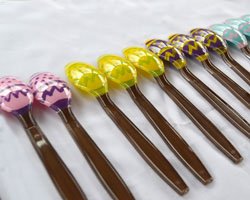
3. Paint all the handles of the spoons brown, or color of your choice. Allow to dry completely. The photo on the left shows what the spoons look like on the inside, and the photo of the right shows how they look on the outside. See how shiny they come out?
4. Clean out the yogurt container and allow it to dry completely. You can also try using a small coffee can or other similar sized container. Measure and cut a piece of colored paper to go around it and tape or glue it into place. The yogurt container was tapered, so this was a bit tricky. Near the bottom of my container the paper wasn't flush with the walls of the container but I didn't worry about this much. You could cut slits into the paper to make it fit flush if you like, or try spray painting the container.
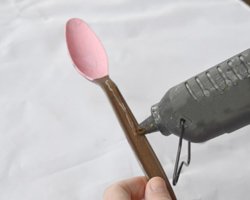
5. Using a hot glue gun, apply glue along the inside handle of each spoon, then glue it to the side of the container, as shown.
6. Add the spoons
all
around the perimeter, then tie a ribbon around the planter.
This is now ready to keep or give away as a cute planter.
Enjoy your Easter egg spoon planter!
Would you consider a small donation?
You will receive my craft ebook as a thank you!
Every little bit helps! If you are enjoying this site, would you consider making a small donation? I use the extra money to help with the cost of craft supplies! With any $5.00 donation or more, you will receive my 650 page ebook full of 178 craft tutorials from this site. Thank you for your consideration!
Click here to learn more about the book, and to make a donation.
