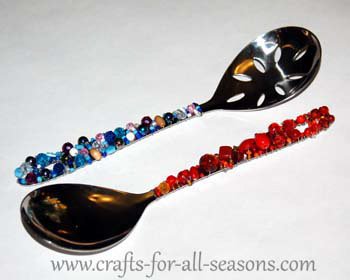
Beaded Serving Spoons
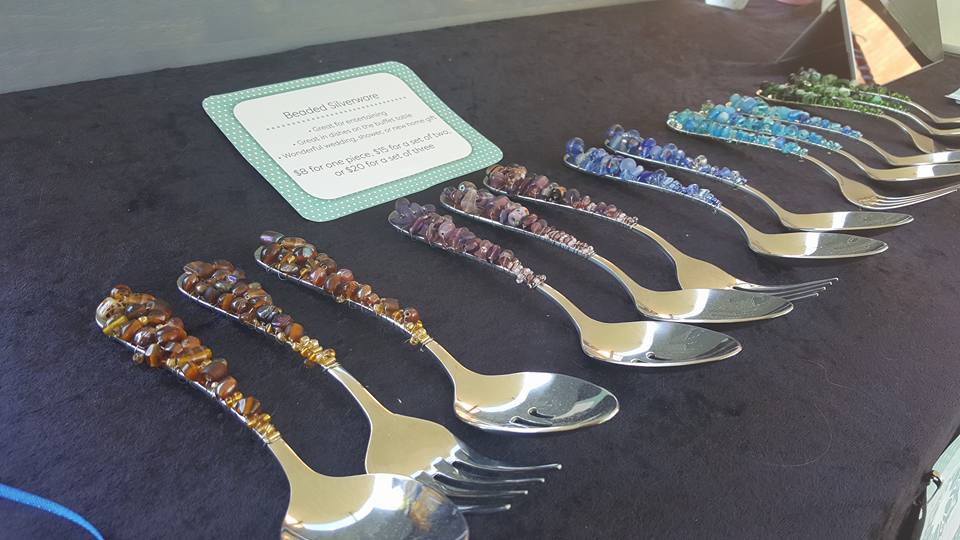
These beaded serving spoons are a classy, beautiful, homemade gift. I use mine all the time when I'm entertaining. They are just perfect to pop into a bowl of fruit salad or any casserole dish you may be serving.
This craft takes a bit of time and patience, but one spoon can be done in about 30 minutes to one hour, depending on your skill level. I have a lot of practice making these and can make them pretty quickly now.
This is a great craft gift idea for Mother's Day, or for a hostess gift! Anyone who entertains will enjoy these serving spoons as a gift. Just make sure they are hand washed and not put in the dishwasher.
This is also a perfect craft to use some mismatched, left over beads you may have from a beading project.
Materials Needed:
- Stainless steel serving utensil
- 20-gauge silver craft wire
- various beads of choice. Using the same color family looks nice.
- Wire cutters
- Jewelry pliers
Instructions for Beaded Serving Spoons
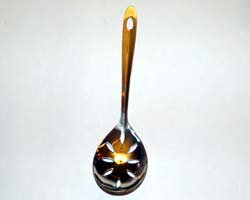
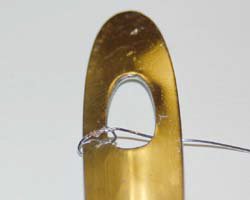
1. These beaded serving spoons are so fun to make! To get started, cut off a yard of the 20-gauge wire. You may need more, but using any longer of a length gets hard to work with. Begin by wrapping it around the handle, by the hanging loop if the spoon has one. Your spoon does not have to have a hole. If it does not, wrap the wire around the handle a few times. Secure the wire around itself by twisting it a few times.
2. Next, start to thread on a few beads. Start with a few small seed beads (below I started with two). Only add enough to cover the front of the spoon, you do not want to have any beads on the back of the spoon. Wrap the wire once around and bring it through the hanging loop again, and continue adding beads. Add some large, some small. Use your judgment, because you will want to note gaps and fill them in with smaller beads.
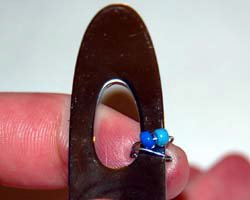
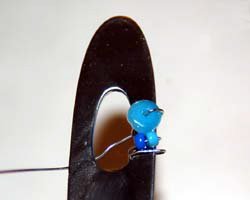
3. Continue working and twisting the beaded wire around the top of the handle, and then along the other side of the hanging loop.
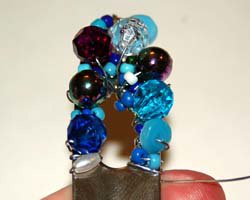
4. When you get past the hanging loop, you can begin to add on more beads to wrap around the wider handle area. Continue working your way down. If you run out of wire, add on another length. Just be sure to secure the end of the wire well by twisting it around an existing wire.
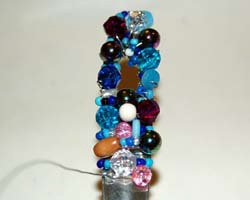
5. Stop beading about 1/4 inch up from the spoon.
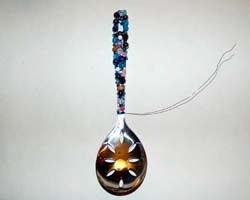
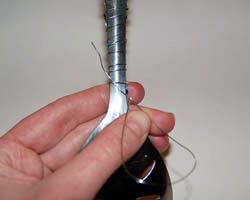
6. Secure the end of the wire in the back of the spoon by threading it and twisting it around an existing wire, as shown.
7. The beaded serving spoon is finished! Ready to give away as a gift or to keep for yourself. Enjoy!
Would you consider a small donation?
You will receive my craft ebook as a thank you!
Every little bit helps! If you are enjoying this site, would you consider making a small donation? I use the extra money to help with the cost of craft supplies! With any $5.00 donation or more, you will receive my 650 page ebook full of 178 craft tutorials from this site. Thank you for your consideration!
Click here to learn more about the book, and to make a donation.
