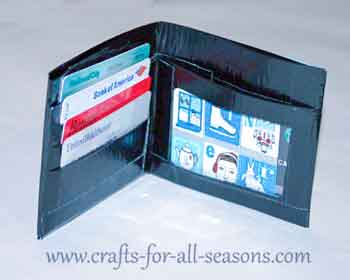
Duct Tape Wallet
Duct tape wallets are so fun to make, and cool to show off to others.
Duct tape has a new found popularity in the crafting world, so the idea of a duct tape wallet probably is not new. Here I include all the easy to follow directions.
Duct tape now comes in a variety of colors and patterns, allowing you to make a very unique wallet.
They are nice and thin, and actually do work extremely well. This would be a great camp project, Boy Scout craft, or a gift for Father’s Day.
Materials Needed:
- Ruler
- Sharp scissors
- Duct tape (One roll will make about 3 to 4 wallets)
Instructions for a Duct Tape Wallet:
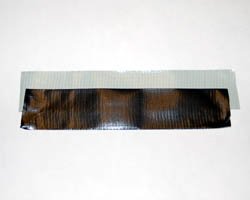
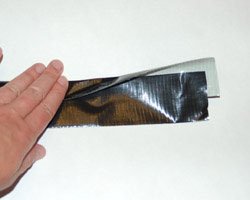
1. To begin the duct tape wallet, rip (or cut) several pieces of tape that are a little larger than 8.5 inches in length. I like to hang these from the edge of my table while I’m working. Having them cut in advance helps the project to move along quickly. Begin by placing one strip, sticky side up, on your working surface. Next, place another strip, sticky side down, halfway over the first strip (see photo below left). Next, fold over the sticky part of the top strip (see photo below right).
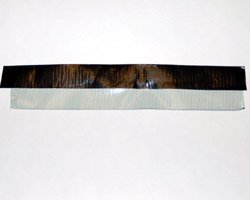
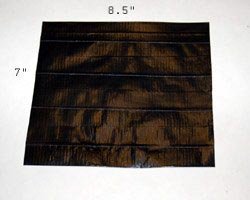
2. Turn the two strips over (see photo below left). Place another strip of tape, sticky side down, over the second half of the sticky tape that is exposed (see photo below right). Turn the strips over. Continue doing this, adding strips to each side, until you have a sheet of duct tape that is 8.5 inches wide and 7 inches tall.
Note: Although not mandatory, I feel the wallet looks much neater if you made the bottom edge “folded”, as you did to the top (as opposed to just trimming it with scissors). It may take a bit of tweaking with the tape but the finished product looks nicer
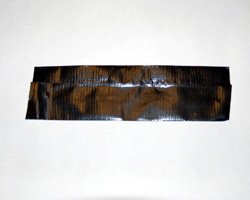
3. Trim the sheet of tape to 8.5 inches wide by 7 inches tall.
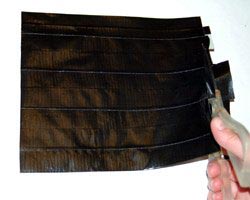
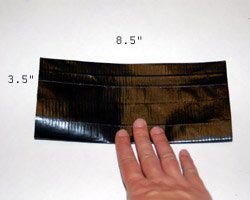
4. Fold the wallet in half lengthwise. It should be 3.5 inches tall and 8.5 inches wide. Then, use some tape to neatly tape the sides so that it creates a pocket for the money bills, as shown. Then, fold this in half. The wallet will now be about 3.5 inches tall and 4.25 inches wide.
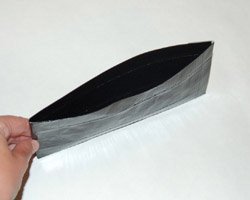
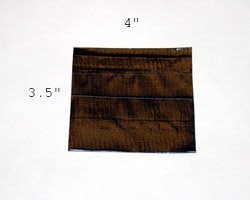
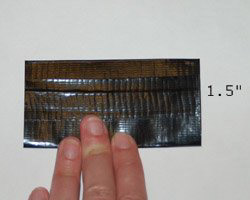
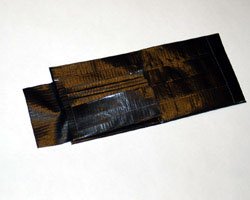
5. To make pockets for credit cards, make two sheets of duct tape (just like in step 1), but make them 4 inches wide by 3.5 inches tall (see photo, bottom left). These also turn out nicer if you make the bottom edge “folded” instead of cut (see note under step 2). Fold the bottom half up 1.5 inches, to create a pocket (see photo, bottom right). The last photo shows the two pockets, which will be layered together to make four pockets.
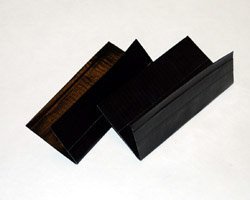
6. Next, layer the pockets, and tape them neatly to the inside of the wallet. Tape the left side, right side, and bottom. This allows for an extra pocket by leaving the inside untapped.
7. To make an ID holder, you will need to use your ID as a template. Make a sheet of duct tape (as in step 1) that is slightly larger than your ID. Then, cut out a rectangle in the middle of the sheet. You want this rectangle to be smaller than your ID (so it won’t fall out) but large enough to see the information. Then, tape this rectangle to the wallet at the left side, right side, and the bottom.
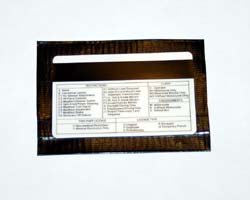
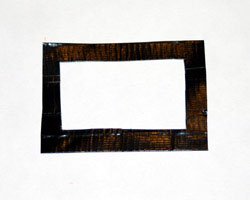
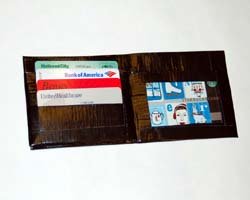
8. Your duct tape wallet is complete. You can personalize it by cutting out designs from contrasting colors of duct tape and sticking them on, or with by making the pockets different colors, etc. Have fun!
Would you consider a small donation?
You will receive my craft ebook as a thank you!
Every little bit helps! If you are enjoying this site, would you consider making a small donation? I use the extra money to help with the cost of craft supplies! With any $5.00 donation or more, you will receive my 650 page ebook full of 178 craft tutorials from this site. Thank you for your consideration!
Click here to learn more about the book, and to make a donation.
