Easter Chick Craft
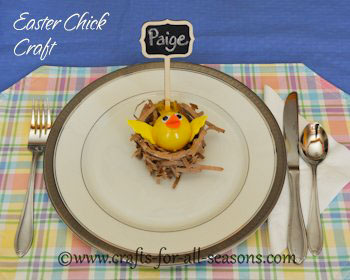
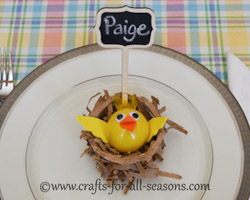
This little Easter chick craft looks adorable on the Easter table. The nest is made from an empty applesauce cup. My kid eat tons of these. This isn't my only craft on the site using those little fruit cups! The outside of the nest is covered with a regular brown paper bag that I simply ran through a paper shredder. You can also buy this already shredded as a basket filler, or just cut up some tiny strips yourself. You won't need much. The chick itself is made from one of those plastic fillable eggs.
This Easter chick craft can be used as place name holders for your Easter table. I found some cute chalkboard tags at TJ Maxx which I added to the nest... but you could easy make some tags and attach it to a toothpick or wooden craft stick.
This Easter chick craft is great for
kids. My 6 year old really enjoyed helping me with this.
She loved making the nest, but I helped with making the chick.
This is because I recommend using a hot glue gun to adhere the chick
parts to the plastic egg, so be sure an adult or teen does this
part. It is easy to get burned with a hot glue gun.
Materials Needed:
- one yellow plastic egg that separates into two parts
- one empty applesauce or fruit cup
- brown paper bag
- white glue
- yellow and orange foamie sheets or felt
- two googly eyes
- yellow feather (optional)
- hot glue gun
- scissors
Instructions for the Easter Chick Craft:
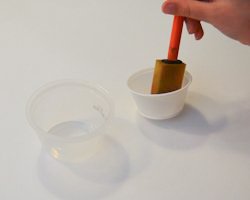
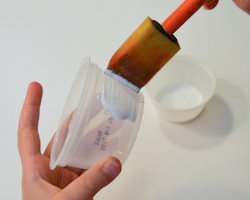
1. Begin the Easter egg chick craft by covering the entire outside of the applesauce cup with glue. My daughter loved this part. I put some glue into a small condiment cup, and gave her a foamie brush so she could "paint" on the glue. Cover the cup completely.
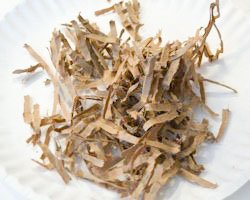
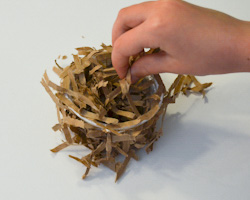
2. Create a little pile of brown paper bag shredding - I put mine on a paper plate. You can either buy it (basket fillers, sold by the wrapping paper), make it the easy way (run a paper bag through a paper shredder), or make your own by cutting the paper bag into little strips. Gently roll the outside of the applesauce cup into the shreds. Then, use your hands to push the shreds on the cup tight. Try to fill in the bare areas as best you can, and remove any that are hanging way off. You can use your scissors to trim any that hang too far off too.
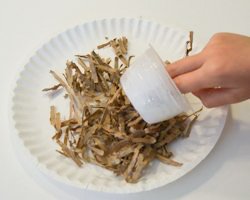
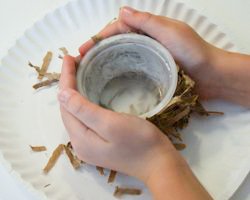
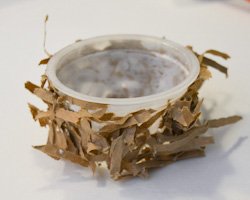
3. Next, apply glue to the rim of the cup. Place individual strips of paper to cover the entire rim.
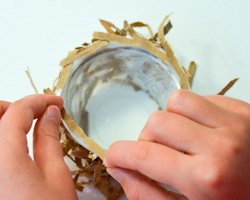
4. Add some paper shreds to the inside of the cup. Now you have your Easter chick craft nest.
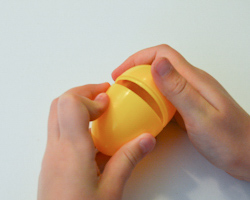
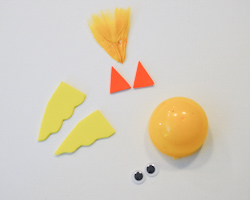
5. To make the chick, only use one half of the plastic egg. I
found that using the shorter, rounder half was easier to glue
everything on. Using foamie sheets or felt, cut out two triangles for
the beak and little wings. You will also need two googly
eyes. I also added tiny feather to his head. Glue
everything on carefully using a hot glue gun (an adult does this part,
we don't want to burn little fingers).
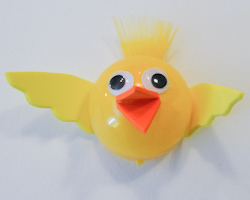
6. You can just sit your little chick in the nest, or glue him in if you want it more secure.
Would you consider a small donation?
You will receive my craft ebook as a thank you!
Every little bit helps! If you are enjoying this site, would you consider making a small donation? I use the extra money to help with the cost of craft supplies! With any $5.00 donation or more, you will receive my 650 page ebook full of 178 craft tutorials from this site. Thank you for your consideration!
Click here to learn more about the book, and to make a donation.
