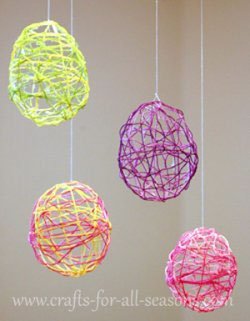
Embroidery Floss Easter Eggs
Making embroidery
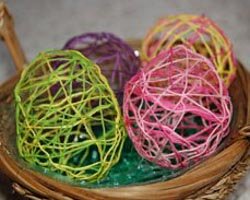
floss Easter eggs is one of my favorite crafts to make for the season. It is not hard to do, and the end result is very impressive. These eggs look best hanging in groups, or placed in an Easter basket.
If you have an Easter tree, these are perfect to hang on that. I hang these from my dining room light over the table for Easter dinner. They look wonderful “floating” there over my centerpiece.
These are made by wrapping brightly colored cotton string, such as embroidery floss, around a small balloon - a water balloon size works perfect. The string needs to be coated in fabric stiffener so that it will become hard as it dries. Then, the balloon is popped with a needle or scissors. The balloon remains can then be removed through one of the openings in the eggs.
To try something really unique, you can place small piece of wrapped candy, or a small toy inside the balloon before you inflate it. When you pop the balloon, the candy will remain inside the egg!
Materials Needed:
- Water balloons (or very small regular balloons)
- Fabric Stiffener (such as Stiffy, available at craft and fabric stores)
- Embroidery floss in various pastel colors
- Scissors
- Pin
- String
Instructions for the Embroidery Floss Easter Eggs:
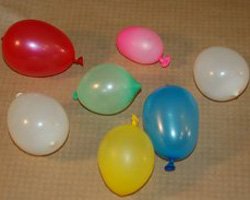
1.Begin by blowing up the balloons. Only blow them up part way, until they are the size of an egg. Tie them shut.
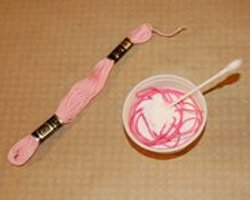
2. Cut ahead of time 1 to 2 foot lengths of embroidery floss. It is much easier to have them cut ahead of time because your hands will be getting very messy.
3. Pour some fabric
stiffener into a little cup or dish. Then, soak a length of floss in
the cup. Pull out the floss through your fingers, removing the excess
fabric stiffener.
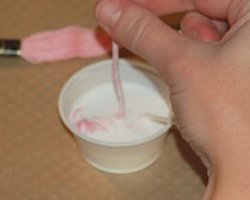
4. Now, wind the floss all around the egg. Continue with the other
pieces of floss until the egg is as covered as you want. Different
shades look great together, or you can do the egg one solid color.
Different shades of one color look good too (like light pink and dark
pink).
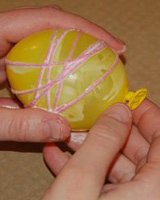
5. Tie a piece of string around the knot of the balloon, and hang it to dry over night.
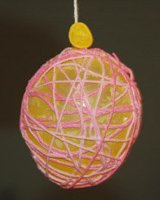
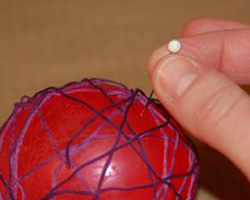
6. The next day, pop the balloon with a pin. It will crinkle up and shrink inside, pulling with it any excess fabric stiffener that was on the sides of the balloon. Then, carefully remove the balloon through one of the openings in the floss.
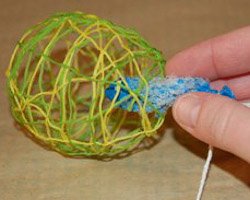
7. Now your egg is done. They can be displayed in a basket, or you can tie a thread to them for hanging.
Would you consider a small donation?
You will receive my craft ebook as a thank you!
Every little bit helps! If you are enjoying this site, would you consider making a small donation? I use the extra money to help with the cost of craft supplies! With any $5.00 donation or more, you will receive my 650 page ebook full of 178 craft tutorials from this site. Thank you for your consideration!
Click here to learn more about the book, and to make a donation.
