Halloween Candy Jar - With a Free Printable Tag
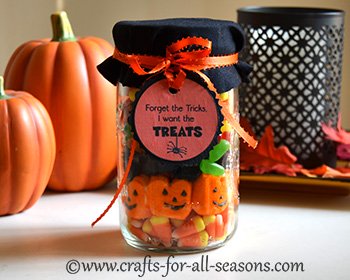
This Halloween candy jar is the perfect Halloween gift for any candy lover this season. It is easy to put one (or several) together and they look wonderful on display as part of your October decor.
I include a free printable tag for the project too, so it is easy to dress up the lid. Brightly colored candy is enough to dress up a Mason jar, or any other used jar you may have around.
This project was sparked from a suggestion on the Crafts For All Seasons Facebook page. Thank you Kayla for requesting a Halloween candy jar craft!
Do you have a project you would like to see? I love hearing from you! Feel free to voice your ideas here or on the Facebook page.
Materials Needed:
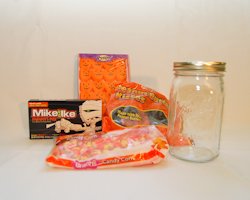
Different types of Halloween candy in different colors. I used the following:
- Peanut Butter Kisses in orange and black wrappers
- Mummy colored Mike and Ike's candy
- Pumpkin Peeps
- Candy Corn
- Jar (I used a Mason Jar)
- Scrap of black fabric or felt for the lid
- Large rubber band
- Orange ribbon
- White Cardstock and Printer for the Printable tag (template included below).
- Scissors
- Hole Punch
Instructions for the Halloween Candy Jar
1. The steps to assemble the Halloween candy jar are very
easy. You want to begin by adding in small amounts of one
type of candy. I used candy corn first. This will
be the bottom layer.
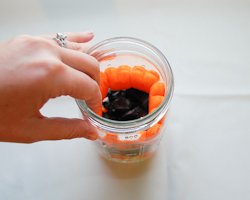
2. Next, create the next layer with another type of candy.
Try something with a contrasting color. I put the Pumpkin
Peeps in next. I found out through trial and error to add the
Pumpkin Peeps near the bottom of the jar so you can see them
well. At the top, some of the layers will be covered up by
the Halloween treat tag. To add the Pumpkin Peeps, stand them
up and wrap them around the inside of the jar, as shown. You can fill
the middle section with some type of filler candy.

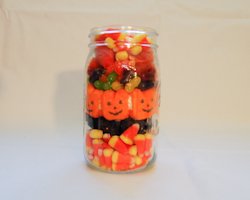
3. Continue layering your candy until you reach the top.
4. To decorate the top of the jar, cut a round circle, about
one inch or so larger than the size of your lid, from black fabric.
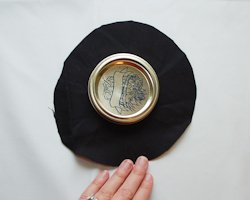
5. Place this on the top of your jar, and use a rubberband to anchor it (so much easier than trying to keep the fabric down while you tie a ribbon).
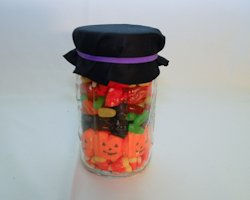
6. Print out the tag on white cardstock. Click here to open the PDF file in a new window. (Adobe Reader is required, and you probably already have it. If not, it is free to download here: http://get.adobe.com/reader/)
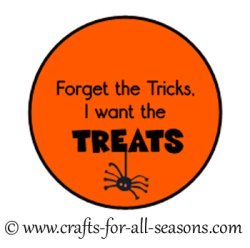
7. Cut out the tag. If you like, you can glue the
cut tag on black cardstock and cut around the circle, to mat it.
8. Punch a hole near the top of the tag with a hole punch,
and thread the ribbon on through. I like to thread a ribbon
loop through the hole, so the tag sits flat.
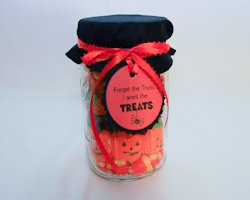
9. Tie the ribbon around the top of the rubberband to hide
it. There you go! This Halloween candy jar is a cute gift, or
a colorful Halloween decoration until you decide to devour it!
Would you consider a small donation?
You will receive my craft ebook as a thank you!
Every little bit helps! If you are enjoying this site, would you consider making a small donation? I use the extra money to help with the cost of craft supplies! With any $5.00 donation or more, you will receive my 650 page ebook full of 178 craft tutorials from this site. Thank you for your consideration!
Click here to learn more about the book, and to make a donation.
Home › Halloween Crafts › Halloween Treat Jar


