Reclaimed Wood Art
It is no secret that I love reclaimed wood art. Anyone that follows me on Pinterest has probably noticed my fondness for these reclaimed wood art projects on my "For the Home" board. I have been wanting to jazz up an empty wall that we had in our living room. It seemed like every piece of art work that I had placed there in the past just wasn't big enough. So I wanted to go big. But let's face it, the big pieces of art really add up in bucks, and they get expensive.
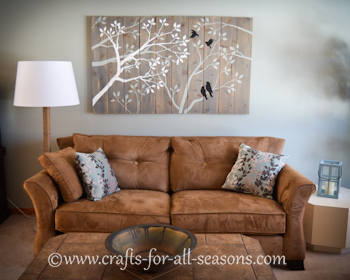
I had just painted the wall behind our couch a light gray, which had hints of blue in it. To be exact, it was Behr's paint color "Keystone Gray". Next I wanted a nice big piece of artwork to put behind it, and I knew I wanted the look of reclaimed wood.
Ok, so here's the secret. The wood wasn't reclaimed. Sometimes reclaimed wood can be a bit hard to find. Instead, I bought extremely cheap wood at Home Depot and then "weathered" it, to create my old reclaimed wood art.
The wood I purchased was 6 foot rough cut Cedar boards, the thin kind sold for fencing. They were just shy of 6 inches in width. They were only $2.78 each, quite a deal. I bought seven boards, bringing my total up to $19.46 for the wood.
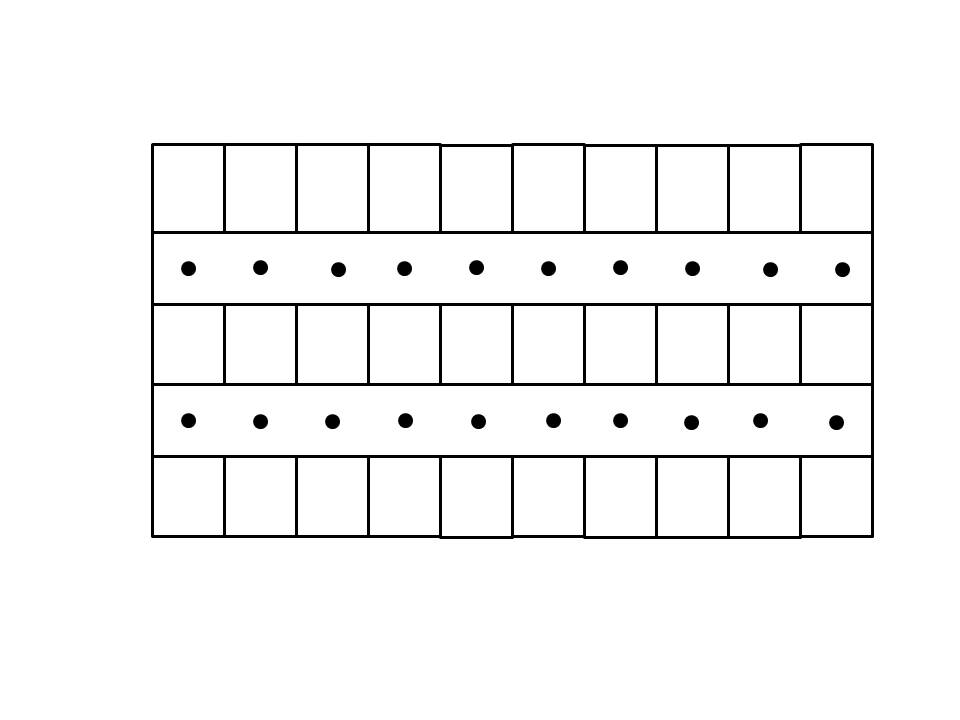
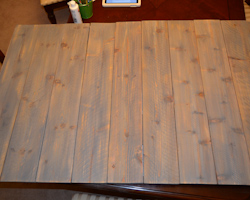
The husband cut five of the boards in half for me, so now I had 10 boards that were approximately 36 inches long. We laid 10 boards side by side, and used the last two boards to run perpendicular to the boards to hold them together. They were cut to size to match the width (which was approximately 59 inches). Then out came the power drill. Using small screws, we secured all the boards together.
Things I used to create this Reclaimed Wood Art:
- Empty tall chip can
- Can opener
- red or green yarn (or color of choice)
- scissors
- yarn needle
- Christmas floral pick
- hot glue gun
Reclaimed Wood Art Instructions
1. My hubby cut five of the boards in half for me, so know I had 10 boards that were approximately 36 inches long. We laid 10 boards side by side, and used the last two boards to run perpendicular to the boards to hold them together (they were cut to size, 59 inches long). Then out came the power drill. Using small screws, we secured all the boards together. I'm sorry, I didn't get a photo of this step, but here's a simple drawing showing how the back of wood art is held to
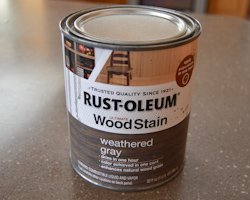
2. To give the wood a weathered look, I bought a small can of Rustoleum Wood Stain in Weathered Gray. I chose Weathered Gray because it matched the back wall I had just painted the living room. Paint on the stain over the entire front of the wood art, and don't worry about being too perfect. You can miss some parts.
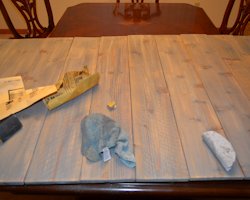
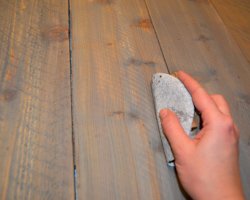
3. To give the wood a nice old look, start sanding! A power sander works best here. You want to remove some of the stain in parts to show the natural wood. This will make it appear old and weathered. When you are happy with how it looks, you can begin painting your design.
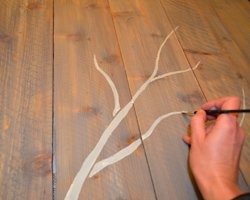
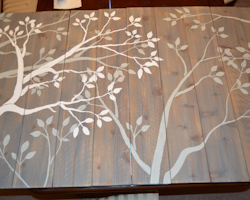
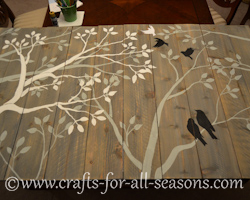
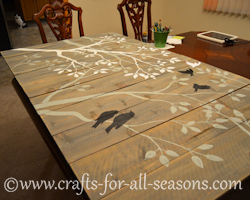
4. I chose to paint branches of a tree. I began using Keystone gray, the exact same paint I used to paint my living room wall. Whatever color you choose, you want to paint the darker color first so you can add some depth to the painting. The branches were not too hard to make. Take your time, and follow a picture if it helps.
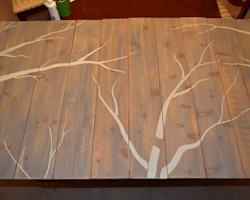
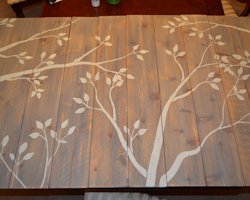
5. When these branches were all painted on and dried, I painted more branches but this time in white.
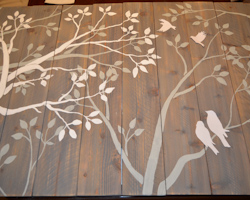
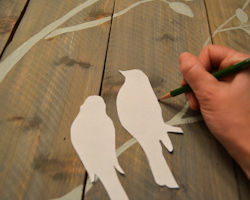
6. I wanted to add birds to my art, to resemble our family. I put two birds on the branch, looking up at their two baby birds flying around. Now I'm not great at freehand art, so I googled bird stencils on the Internet and found a few I liked. I printed them out to the appropriate size, and cut them out. What is nice about this method is I could move the birds all over the art, stand back, and make sure that I like the positioning before doing the painting.
7. When I was ready, I traced the outline of each stencil with pencil. Then it was easy to fill in the shapes with black paint.
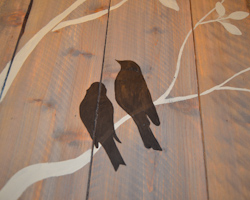
I love the way my reclaimed wood art came out. The finished piece is large, 59 inches wide and 35 inches tall, to be exact. I think I finally found a piece of art that fills that space well.
Would you consider a small donation?
You will receive my craft ebook as a thank you!
Every little bit helps! If you are enjoying this site, would you consider making a small donation? I use the extra money to help with the cost of craft supplies! With any $5.00 donation or more, you will receive my 650 page ebook full of 178 craft tutorials from this site. Thank you for your consideration!
Click here to learn more about the book, and to make a donation.


