Snowman Glue Craft
This snowman glue craft is an easy project for kids or adults alike.
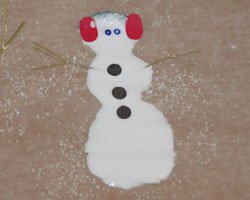
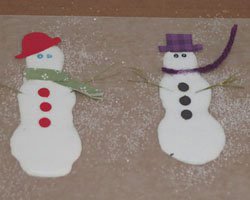
These snowmen are made out of regular white school glue. The glue is squeezed out on to wax paper, and decorated with beads, bits of paper, and small pieces of fabric.
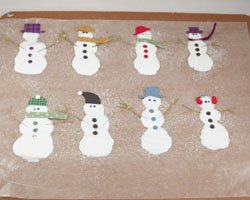
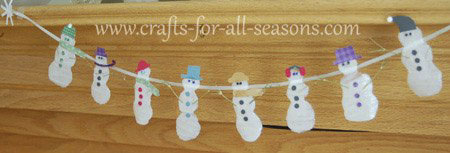
After the snowmen are allowed to dry for about two days, they peel easily off from the wax paper. They can be attached to a ribbon, as shown below, to become a cute snowman garland. Or, individual snowmen can be turned into magnets, pins, or used to adorn gift packages and bags. These come out really cute and are fun to make!
Materials Needed:
- Piece of cardboard to work upon (optional, you can also use a table)
- Piece of wax paper
- tape
- bits of colored scrap paper, beads, bits of fabric, etc (see directions below to see what I used)
- white glue
- clear or white glitter (optional)
- ribbon for hanging (optional)
Snowman Glue Craft Instructions
1. Begin the snowman glue craft by choosing your work area. If you use a table, be sure you can leave the snowmen there undisturbed, for a couple days to dry. A better solution is to find a piece of cardboard to work on so you can move it to a safe location to dry. Tape a piece of wax paper down on your work surface or the cardboard.
2. Using the white glue, outline three circles for the snowmen body. Then fill these in with white glue. If you are making these with very small children, you may want to make the circles for them and then allow them to fill in the lines of the circle with glue. Get a nice thick layer of glue, and don't worry if it isn't perfect (it will add to the uniqueness of each little snowman!)
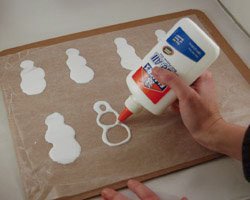
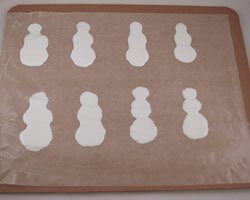
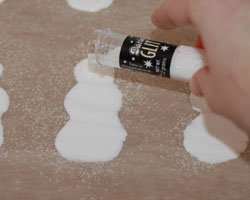
3. Optional: Sprinkle each snomwan with some clear or white glitter to give them some extra sparkle.
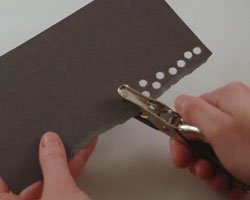
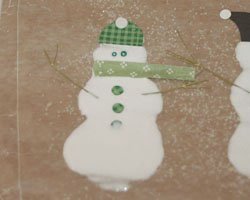
4. Now it is time to be creative! Use little bits of scrap paper and bits of fabric to make buttons, eyes, and other features. I used small seed beads for eyes, paper punched holes for buttons, and cut out different shaped hats. For the arms, I used the delicate branches of some dried baby breath I saved from a flower arrangement. You could also find small twigs for the yard, or try some pipecleaners or thin wire. For the earmuffs, I cut out small ovals from construction paper and connected them with a small piece of yarn. Don't worry if the features "sink" into the glue. As the glue dries it will become more opaque so you will be able to see the features.
5. Allow the snowmen to dry for about two days. Then, gently peel each snowman off from the wax paper (a flat spatula will come in handy).
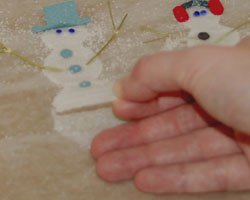
6. After the snowmen are dry, you can glue the backs of them to a ribbon to hang as a garland. You can also use these as magnets, on greeting cards and gift tags, or make them into a pin.
Would you consider a small donation?
You will receive my craft ebook as a thank you!
Every little bit helps! If you are enjoying this site, would you consider making a small donation? I use the extra money to help with the cost of craft supplies! With any $5.00 donation or more, you will receive my 650 page ebook full of 178 craft tutorials from this site. Thank you for your consideration!
Click here to learn more about the book, and to make a donation.
Home › Winter Crafts › Snowman Craft
Home › Crafts for Adults › Snowman Craft
Home › Crafts for Teens › Snowman Craft
Home › Crafts for School Age Kids › Snowman Craft


